Drip edge is one of the most consistently overlooked components of a Florida roof replacement — and one of the most consequential. Florida Building Code Section 1507.2.9 requires drip edge installation on all new and replacement residential roofs in Florida, yet it is frequently omitted from contractor estimates and insurance adjuster Xactimate outputs alike. In Palm Beach County, where annual rainfall exceeds 60 inches and roof-edge water management is critical to preventing fascia rot, soffit damage, and foundation moisture intrusion, understanding exactly what drip edge does, what the code requires, and how to confirm it is installed correctly is essential knowledge for any homeowner undertaking a roof replacement.
What Drip Edge Actually Does
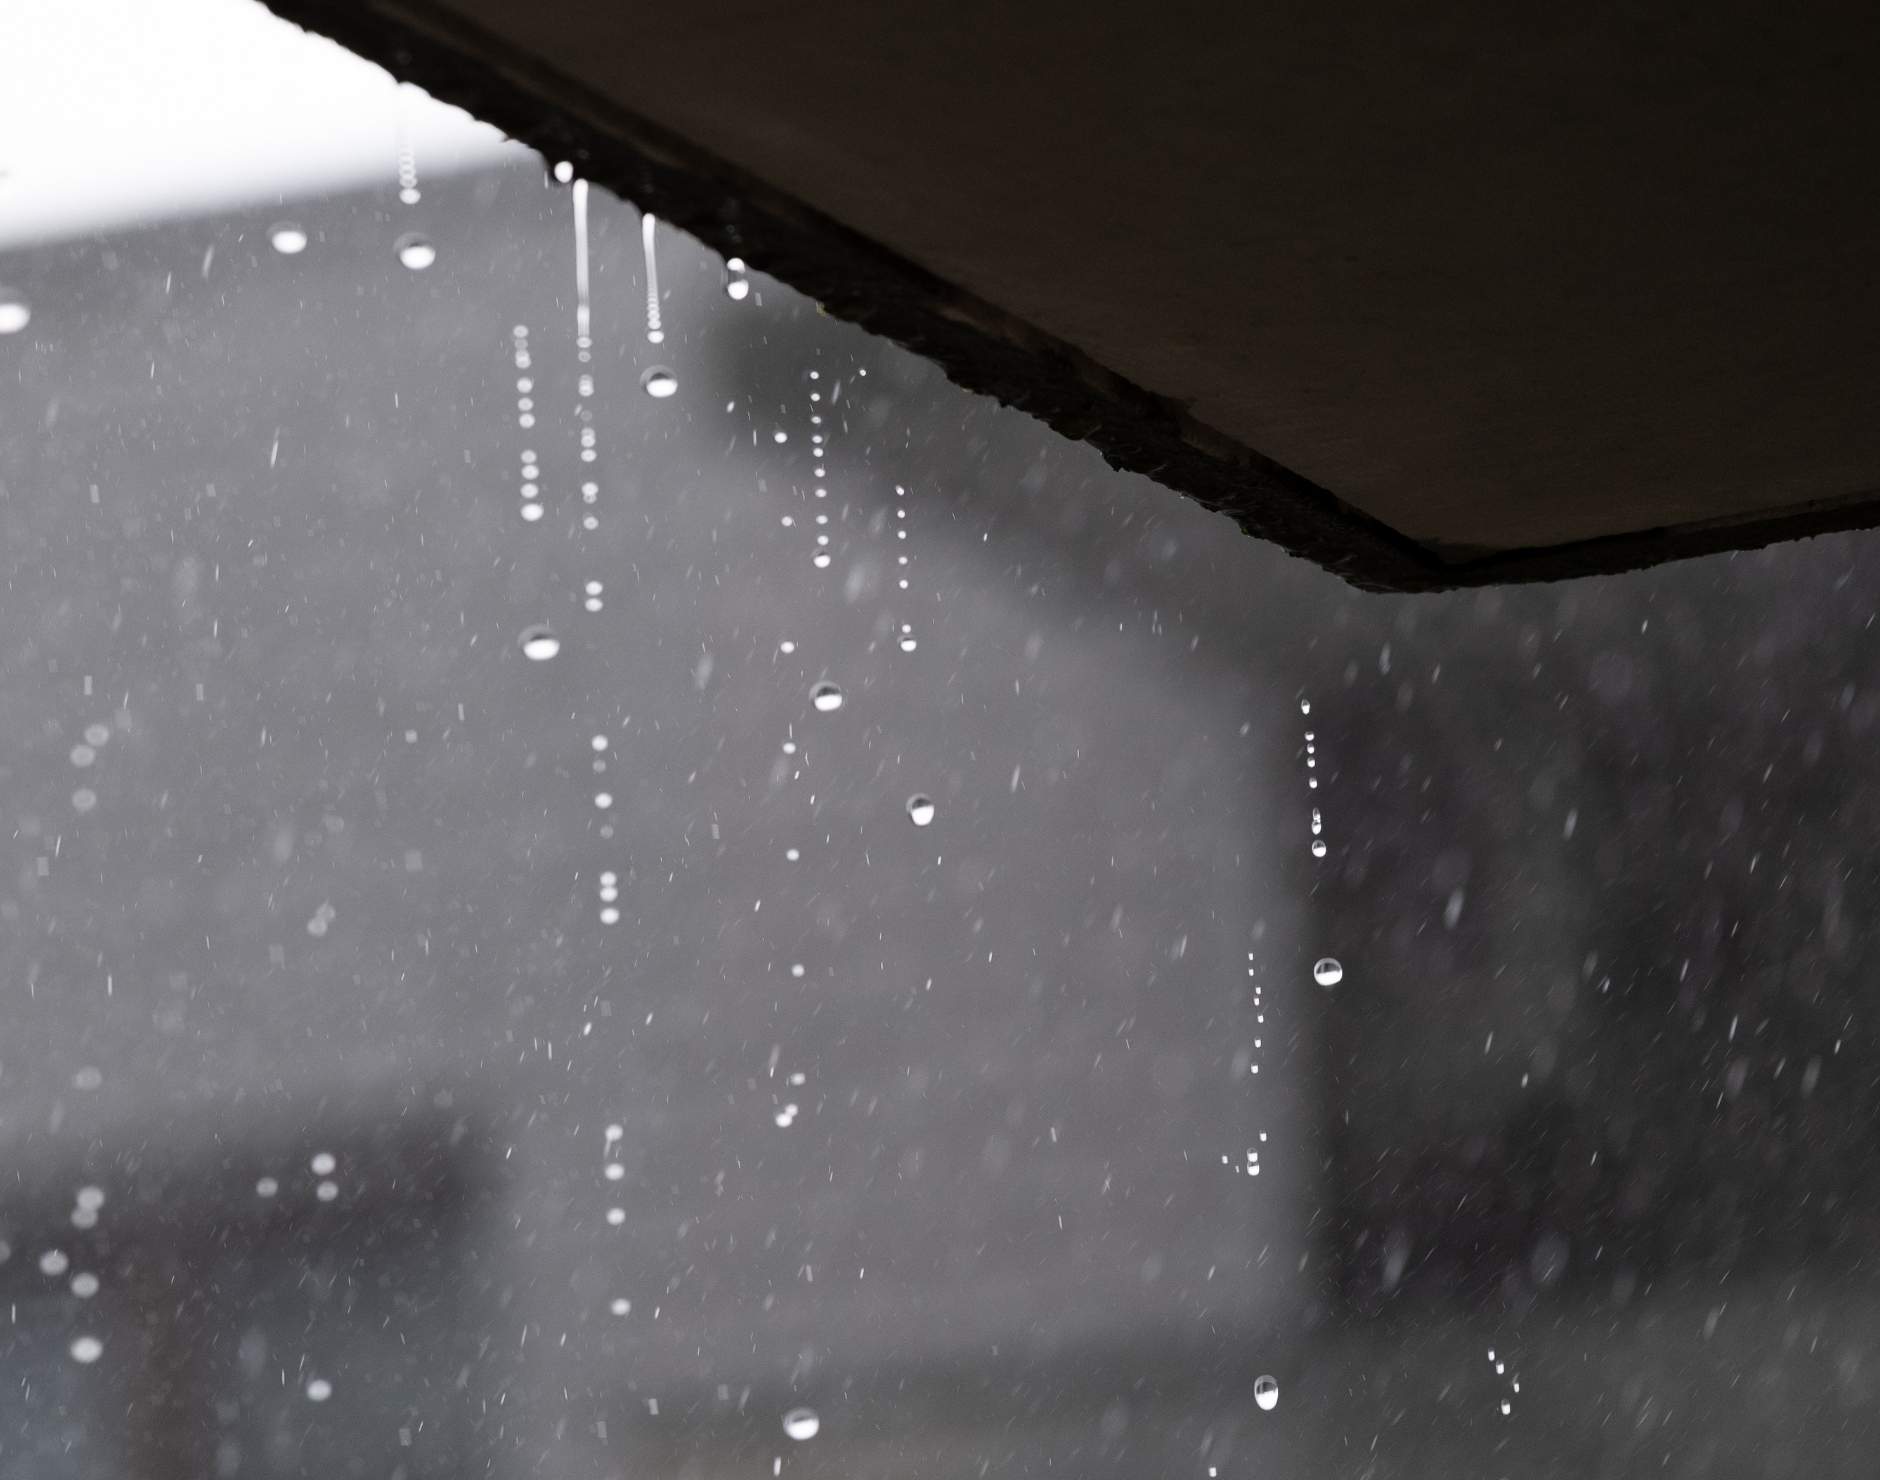
Drip edge is a metal flashing profile — typically L-shaped or T-shaped — installed along the eaves and rakes of a roof system. Its function is to direct water away from the roof deck edge and into the gutter or off the fascia, preventing water from wicking back under the roofing material via capillary action. Without drip edge, water traveling down a roof slope hits the edge, hesitates due to surface tension, and migrates back under the underlayment — where it saturates the roof deck, penetrates into the fascia and soffit framing, and initiates rot and mold that can propagate into the attic and wall structure.
In Palm Beach County's climate, this failure mode is accelerated by two factors: the volume of rainfall (South Florida's 60+ inches per year versus the national average of approximately 38 inches) and the region's flat roof pitches on many ranch-style homes, which slow water velocity at the roof edge and increase the time available for capillary wicking. Drip edge is not decorative - it is a functional water management component that directly affects roof system longevity and the structure it protects.
What Florida Building Code Section 1507.2.9 Requires
FBC Section 1507.2.9 requires that drip edge be installed at eaves and rakes of shingle roofs. The specific requirements include: minimum 26-gauge corrosion-resistant metal (typically galvanized steel or aluminum), minimum 2-inch horizontal flange and 1.5-inch vertical flange dimensions, installation over the underlayment at eaves (so water from the underlayment drips off the edge into the gutter) and under the underlayment at rakes (so wind-driven rain hitting the rake edge does not penetrate under the underlayment).
The eave/rake installation sequence is frequently confused and frequently installed incorrectly. At the eave: starter course of underlayment is installed first, then drip edge is installed over the underlayment, then remaining underlayment courses continue. At the rake: underlayment is installed first, drip edge is installed over it. This sequence ensures that water exits cleanly regardless of wind direction or rainfall intensity.
Drip Edge on Tile Roofs
FBC Section 1507.3 (tile roofing requirements) also requires drip edge or an equivalent eave closure system. On tile roofs, the eave condition is managed by a combination of drip edge metal, eave closure (a foam or metal piece that seals the open end of each tile course at the eave), and the tile starter course. The specific drip edge profile used on tile roofs differs from shingle systems — tile drip edge is designed to work with the tile's profile and direct water into the gutter without compromising the tile course alignment.
Palm Beach County's dominant tile profiles — S-tile (two-piece barrel), flat concrete tile, and high-profile clay tile — each have specific drip edge and eave closure requirements. A contractor who uses a standard shingle drip edge on a tile system, or who omits the eave closure, creates a condition where water and vermin can enter the tile course at the eave — a common source of soffit damage and animal intrusion in PBC tile-roofed homes. Licensed roof repair contractors in Palm Beach County correct these eave conditions without full replacement.
Drip Edge as an Insurance Supplement Item
When storm damage triggers a roof replacement in Palm Beach County and the original roof did not have drip edge — common on homes built before the current FBC edition — the new installation must include drip edge per current code. This is a code upgrade cost that your homeowners insurance policy should cover under Ordinance and Law coverage. Florida Building Code compliance is a legitimate supplement item when an adjuster's Xactimate estimate omits drip edge on a code-upgrade replacement.
Document the existing condition before tear-off: photograph the eave and rake edges to show whether drip edge was present on the original installation. This documentation supports the supplement claim by demonstrating that drip edge is a new requirement triggered by the replacement — not a maintenance item that the homeowner deferred. For more on supplementing insurance claims, see our guide on how to supplement a Florida roof insurance claim.
What Quality Drip Edge Looks Like
Not all drip edge is equal, and in South Florida's corrosive coastal environment, material quality matters significantly. Galvanized steel drip edge is the code minimum and is appropriate for inland PBC locations. Aluminum drip edge is preferable within a mile of the coast — aluminum does not rust and does not react with the tannins in certain wood species used in fascia construction. Copper drip edge is the premium option for high-value coastal properties — it is the longest-lasting and does not produce the rust staining that galvanized steel produces on fascia paint over time.
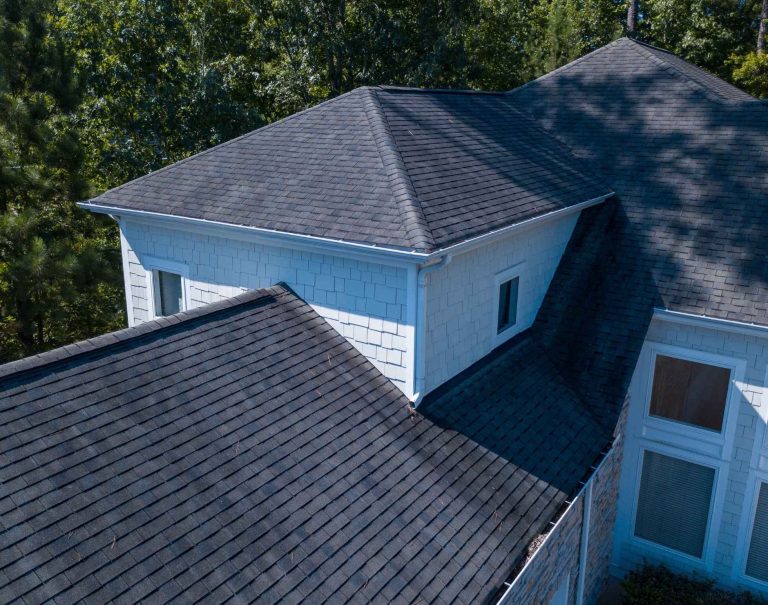
Drip edge should be continuous along the eave and rake with overlapping joints. Gaps, kinks, or inconsistent fastening are installation defects that create the exact water management failures drip edge is designed to prevent. Verified roofers in Palm Springs and across PBC install to the FBC 1507 sequence as standard. During your post-installation inspection, look specifically at the eave and rake edges to confirm the drip edge is continuous, straight, and properly turned down over the fascia face.
- Confirm drip edge is explicitly included in your contractor's bid — material type, gauge, and location (eave and rake)
- Verify the eave installation sequence: underlayment first, then drip edge over underlayment at eaves
- Verify the rake installation sequence: underlayment first, drip edge over underlayment at rakes
- For coastal PBC properties (within 1 mile of coast), specify aluminum drip edge — not galvanized steel
- For tile roofs, confirm correct tile drip edge profile and eave closure are included — not shingle drip edge
- Photograph eave and rake edges before and after installation — documents FBC compliance
- If replacing a roof where drip edge was absent, include as a supplement item on any insurance claim
- Inspect completed installation for continuous drip edge with no gaps, kinks, or missing fasteners